
Description
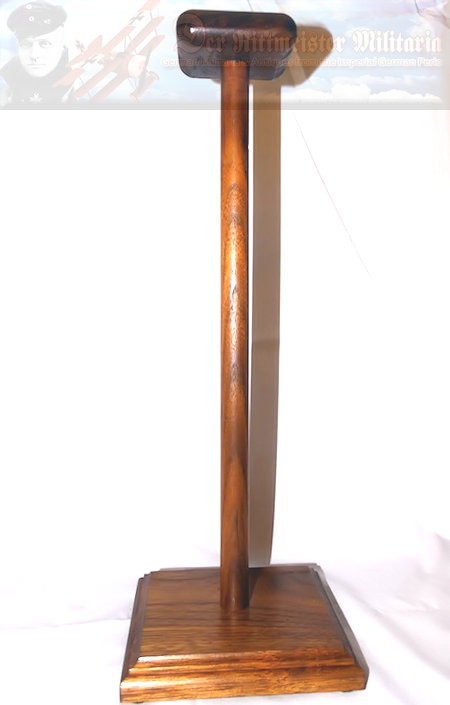
LARGE HELMET DISPLAY STAND MEASURING 15 3/4″ TALL
Woodworking Process used In Creating Helmet Stands –
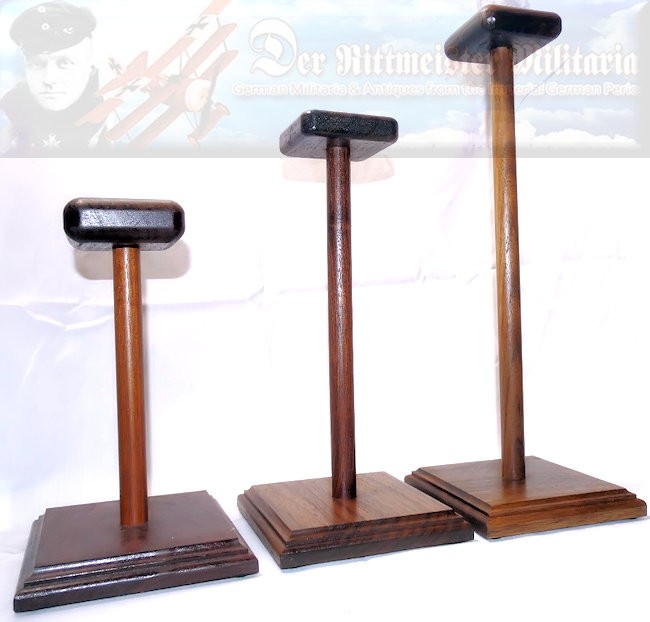
The lumber utilized is from species that are native to the American Northeast. I prefer using Black Walnut for my pieces because of its rich color and use in high-end furniture. Other woods can be substituted (such as Cherry or Oak) if desired. For my tastes, the deep brown of Walnut adds an additional touch of class to the piece being displayed.
Wood Preparation –
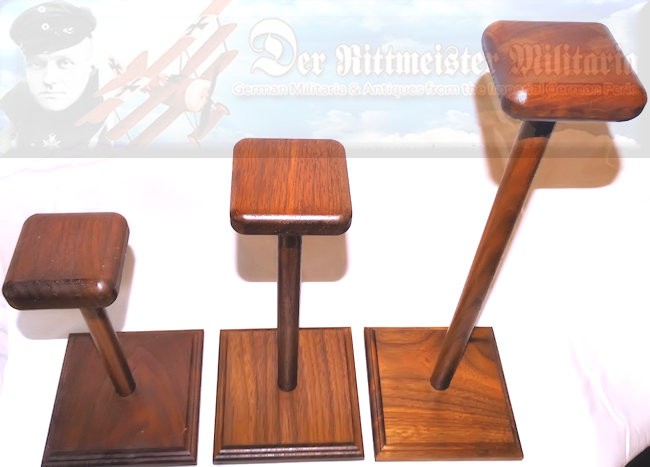
Trees are milled by a professional furniture maker and myself to guarantee the best figure, cut (i.e. “quarter sawn” and “flat sawn”) and yield. Afterwards, the wood is left to dry for at least a year. Air drying produces a much darker and richer color in the stock as compared to kiln-dried wood. All attempts are made to manufacture pieces from lumber that came from the same tree. This prevents parts from having noticeably different colors after finishing.
Design –
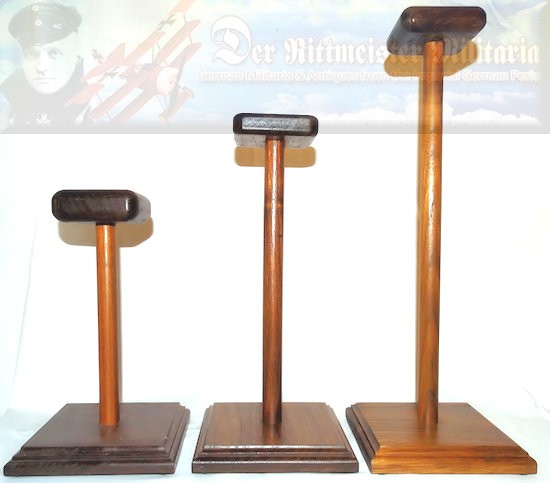
The helmet stands were originally designed to display pieces from my own collection. After seeing only cheap clear plastic or Styrofoam stands for sale I decided to make my own from wood. The design and size were developed to accent each piece – not overpower them. For example, I have found that steel helmets require a longer post to prevent them from looking top heavy. The base is designed with a nicely routed classical edge to add the flavor of fine furniture to these stands. The top part (upon which the headdress rests) was specifically designed to avoid damaging the piece. The top surface is specifically rounded over to prevent scratching the piece or tearing a fabric liner. Even this part’s sides and bottoms are rounded over to prevent accident.
Construction –
All stands are made in production runs. This allows me to keep the cost down because I am always making more parts than necessary. I can then manufacture a specific number based on an order. I prep sand the entire boards before parts are cut to final dimension. This allows for a much smoother surface on the finished piece because the sanding process actually produces scratches in the wood. If this sanding was performed on the individual part these scratches would be noticeable in the smaller area. It is important to note that scratches removed with progressively finer grits of sand paper. In addition this prep sanding prevents rounding over or “wavy” edges. Prep sanding starts with 80 grit paper and ends with 200 grit.
Once the parts are cut the holes for the post is drilled. All pieces are placed into a jig to assure exact placement (centering) of the post. This would not be possible after the decorative edges are routed. The last step of handwork I perform before routing is using a hand plane to remove any saw marks from the dimensioned parts. This process removes shavings of wood so thin you can see through it.
All edges are routed by hand in several passes to prevent too much wood being removed in a single pass. While more time consuming this dramatically reduces the chance for tear out or splintering. These are furniture grade stands and these extra steps assure a high end product that you will be proud of for years.
The last step before assembly is fine sanding each part with Linseed Oil. This is accomplished with 220 to 400 grit wet and dry paper. Using Linseed Oil serves three very important purposes:
- First, it acts as a lubricant, making the sanding process much more efficient.
- Secondly, the oil mixes with the resulting sawdust. This “slurry” actually fills in the pores of the grain – resulting in a finish that feels as smooth as glass.
- Lastly, the oil pre “finishes” the wood, preventing any excess glue from possibly preventing the finish from penetrating the wood.
All areas of the parts are sanded – not just the flat areas. All curves and other rounded areas are sanded with the paper wrapped around mandrels (steel dowels) to keep the radius from being altered. Afterwards the parts are left to dry between 24 – 48 hours.
Assembly –
The posts are glued to the base with wood glue and secured with a ¾ inch screw for strength. Each post is aligned perfectly plumb (square) to the base with machine squares and left to dry for several hours. Any excess glue is removed before it is completely dry. The Linseed Oil used earlier prevents the glue from adhering to the wood. The tops are attached to the post with marine epoxy. Epoxy has a much longer setting time (11 hours) allowing me to make sure the part is square to both the base and post. It also imparts a much stronger joint. It is necessary to use epoxy on the top because a screw cannot be used – it would be visible on the top and could scratch the helmet or headdress.
Finishing –
Once the parts have sat for several days to allow glue and Linseed Oil to dry the final finishing can occur. No stains are used during finish. There is no need to use stain because the wood had been air dried. Earlier I mentioned this results in a much deeper and richer color. I use a product called Waterlox™, which is polymerized Tung Oil. Each piece receives at least 3 coats. Each coat is applied by hand and left to cure overnight. Between each coat the finish is cut back by hand, rubbing with extra fine steel wool. This levels out any surface imperfections and provides better contact with the next layer of varnish. The final coat of varnish is applied very thinly. Lastly, felt pads are applied on the bottom to prevent scratching the surface on which the helmet stand is placed.